How to Create Free Blogger Website Step by Step – Blogger
Table of Contents
Step by Step Guidelines To Create Blogger Free Website

Blogger Introduction:
Blogger is a website that is created to promote their business products or services. A blog is a digital diary where you can write the content in the form of text, image, video, and audio. A blog is a website. Blogging is also called a blog. Here I am going to discuss How to Create a Free Blogger Website Step by Step – Blogger in this article. Blogger is a website where someone writes Quality Content to show others. The content is in the form of text or image or video or audio or combination of all. The blog consists of more number of posts made by a person or people who are going to deliver quality information to others. People are using bloggers for various purposes like affiliate marketing, freelancer, and promoting their business or products.
What are all the things that need to create Blogger:
- One Gmail ID is enough to create a new blogger website.
Steps to be followed to create a new Blogger website:
Step 1: Go to Google.com
Step 2: Type blogger.com. in Google Search Box
Step 3: Click sign in.
Step 4: Enter the Gmail ID and password.
Step 5: Click the login button.
Step 6: Enter the title of your blogger.
Step 7: Enter the address of your blogger.
Step 8:Now look ahead at your blogger dashboard or panel page.
Read More: Which is the Best Digital Marketing Training in Coimbatore?
Blogger has the following Menu
1.Posts
The posted menu on the blog is representing the article that was written on the blog. It can represent the content in the form of text, photos, infographics, or videos.

2.Stats
Stats is one of the blogger menus which helps to analyze the blog traffic and what audiences looking for.

3.Comments
The comment is a blogger menu that represents a statement that expresses a person or people’s opinion or belief or adds their information.

4.Earnings
Earning is one of the blogger menus which helps to represent the show how much you are earning on blogger by using Google AdSense.
5.Pages
The page is a blogger menu that indicates the blog content but this content doesn’t change frequently. Example: Home, About Us, Contact Us.

6.Layout
The layout is one of the blogger menus which represents the process of arranging menus on a page.

7.Themes
Themes are a blogger menu that helps to change the color, design, background image, text size, text color of your blog.

8.Settings
Setting option on blogger helps you to change the title, description, Favicon, date and time, and set number of posts visible on the blog page, enable and disable of comments, etc.,

9. Reading List
Reading list is one of the blogger options which shows the latest added favorite post on your blog.

Steps to be Followed to Create a New Blog
Here I am going to instruct step by step process of creating a new blog related to your products or service in any field. Let us start
Step – 1: Type blogger.com on the Google search bar and press the enter button.

Step 2: It will display the following window. In that window click the sign-in option that is displayed right-side top corner.

Step 3: Type your Gmail id in the Sign-in option and press the Next button.

Step 4: Type your Gmail id password in the Sign-in option and press the Next button.

Step 5: It will show the Blogger onboarding window. You can type the Title of your blogger here. Once you typed the Title of your blog then press the Next button.

Step 6: It will ask you to type the address (URL) of your blog. It is a very important step. So can type your blog URL very carefully.

Step 7: Suppose it will show the following message like “sorry, this blog is not available” means that the URL was already taken so you should take another URL. Click the Next button.

Step 8: It will show the blogger dashboard.

Step 9: If you want to see your website then click view your blog option showed on the left side top corner.
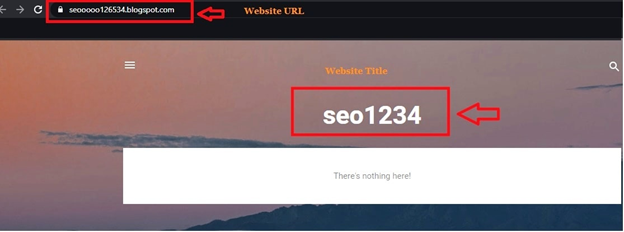
Step 10: Once you click it will show your website as follows.
Steps to be Followed to Upload New Theme
Here I am going to instruct you step by step process of upload a new theme to your blogger website. Let us start !!
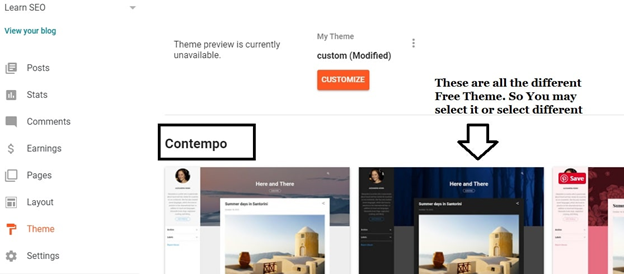
Step 1: Click the Theme option on the Blogger dashboard.

Step 2: It will show more free themes in a different category. So select anyone one the theme which is preferred to your blogger website.
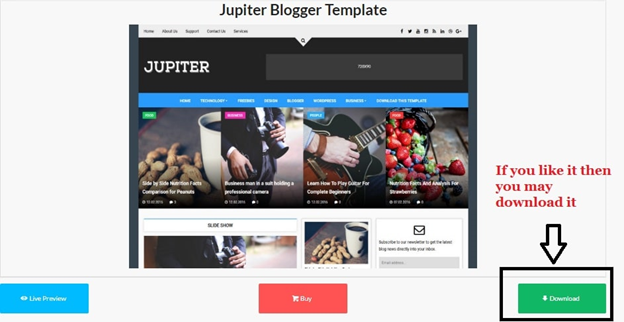
Step 3: Suppose if you want to upload any third party website theme then you may download your preferred theme on that site
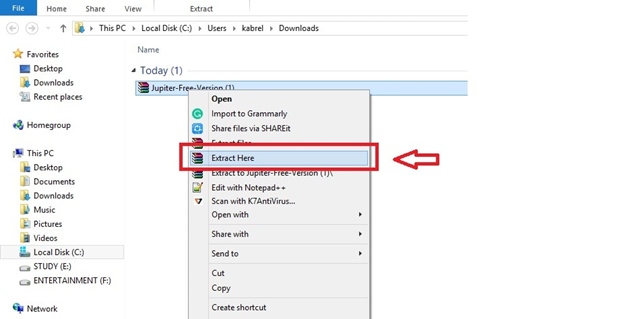
Step 4: You should extract the theme folder. Because it may be in RAR format.
Step 5: You should select the three-dot icon in the theme option and select the Restore option.

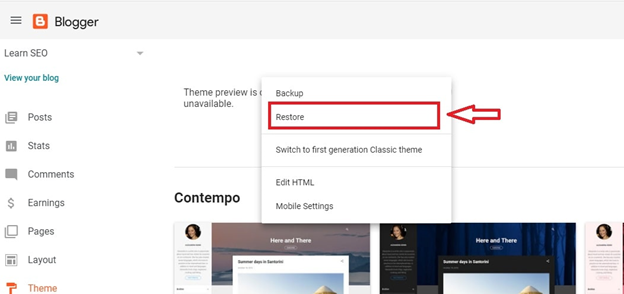
Step 6: It will ask the Upload option. So you may click the Upload option and select an HTML file from the extracted theme folder.


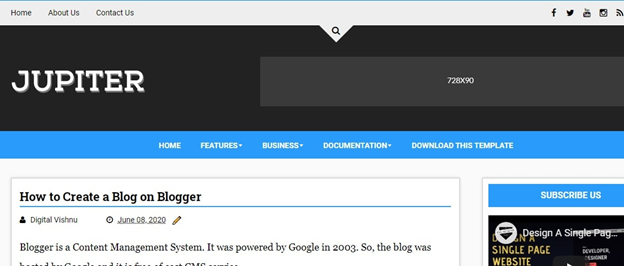
Step 7: Now, your current theme will be changed. You may check it by clicking the view blog option on the left-side top corner of the Blogger dashboard.
Conclusion
I hope the information shared in this blog post will help you How to Create a Free Blogger Website Step by Step Guide – Blogger. Even though if you have any doubts or confusion to design How to Create Free Blogger Website Step by Step Guide then you can call or Whatsapp to this number +91-9600231980.